
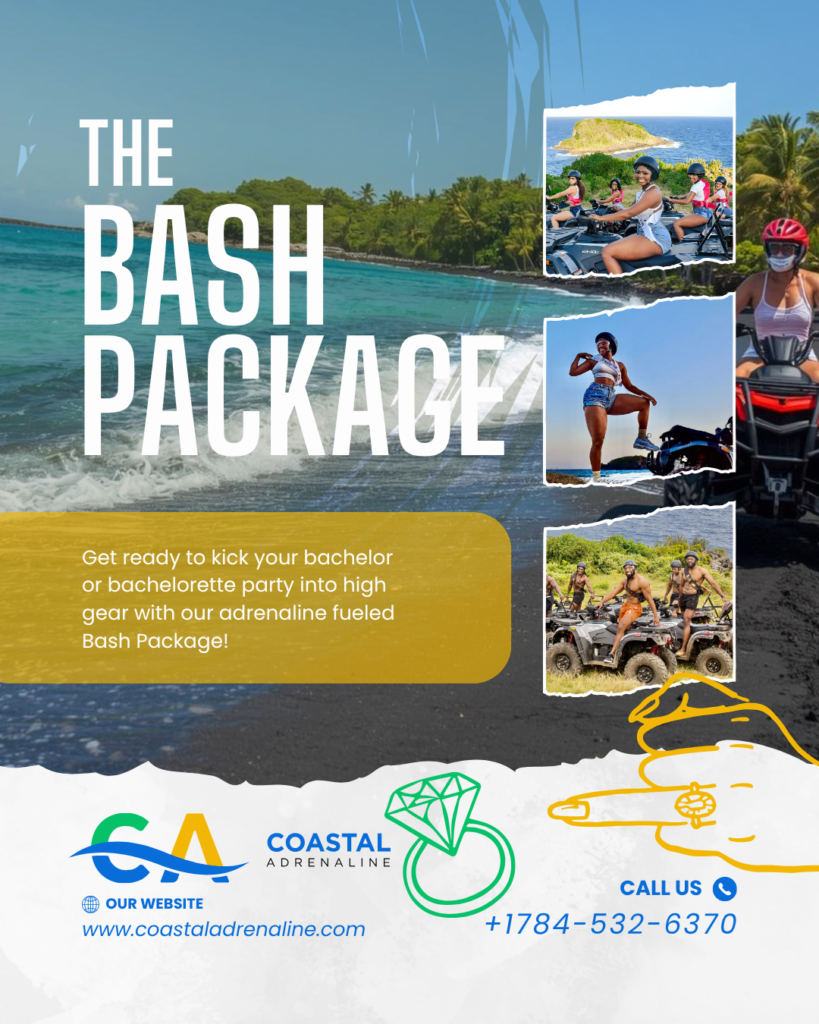


The best coastal ATV photo stops are not the ones you rush through with a phone in one hand and dust still settling behind you. They are the moments when you cut the engine, step into the misty sea air, and realize St. Vincent is putting on a full show: black sand underfoot, green mountains rising behind you, and the Caribbean stretching wide ahead.
A guided ATV ride gives you access to the island’s wilder edges without turning your day into a search for parking, directions, or safe routes. Bring a charged phone, secure it before riding, and let the scenery do the hard work. Here are seven photo-worthy coastal moments to look for on an island ATV adventure.
7 Best Coastal ATV Photo Stops in St. Vincent
1. A volcanic black-sand beach
Black sand changes everything in a photo. It gives the shoreline depth, makes white surf stand out, and creates a dramatic contrast against St. Vincent’s bright green hills. This is not the pale, postcard-perfect beach scene you may expect from the Caribbean. It is bolder, moodier, and unmistakably Vincentian.
For the strongest shot, frame the beach with the sea on one side and the ridgeline on the other. Have one rider stand beside the ATV rather than sit on it, especially if the vehicle is parked safely away from the waterline. The human element shows the scale of the coast and gives your photo a sense of adventure.
Morning light is often softer on the sand, while later in the day can bring richer shadows and more texture. Conditions matter here. After rain, the black sand can look darker and more reflective; on a bright dry day, it may appear charcoal gray. Both are worth capturing.
2. The sea-view ridge
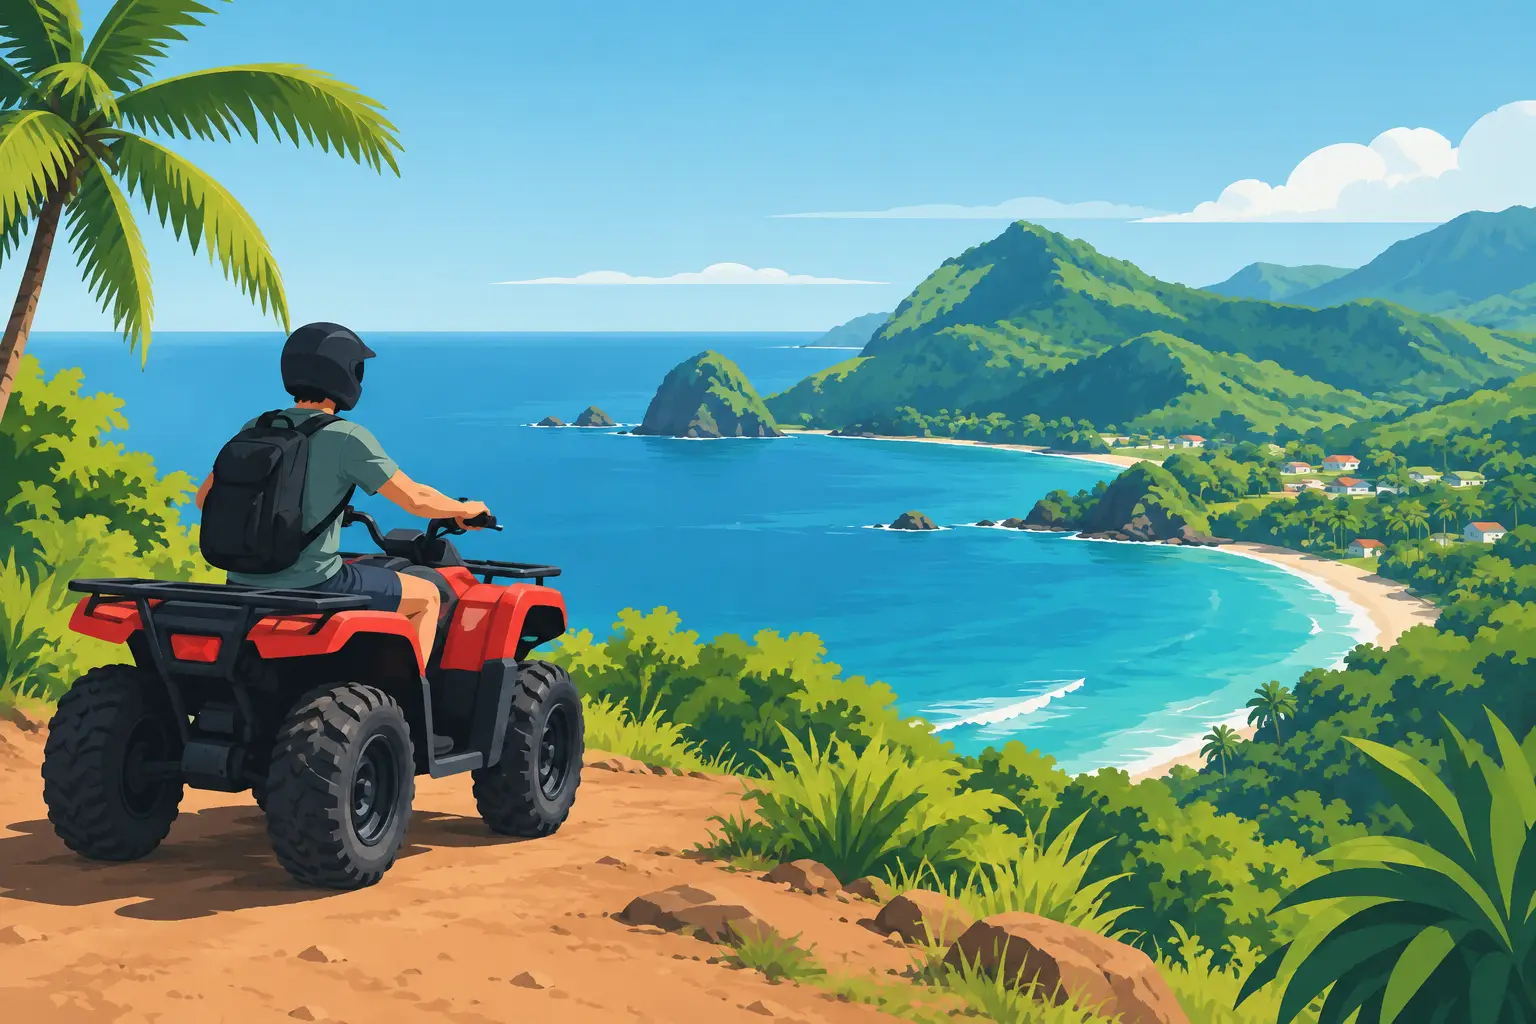
The ride up is part of the reward. Coastal ridges offer that classic St. Vincent perspective: thick vegetation in the foreground, village roofs below, and a broad sweep of blue water beyond. It is where the island’s volcanic terrain and ocean life meet in one frame.
This stop works best with a little patience. Instead of aiming your camera straight at the water, use the road or trail as a leading line into the view. A helmet resting on the ATV seat, a rider looking toward the coast, or a small curve in the dirt track can make the image feel less like a landscape snapshot and more like a story.
Ridges can be breezy, so hold your phone steady and keep loose items secure. Your guide can also help identify safe places to stop and point out angles that show the coastline without stepping near an unstable edge.
3. The place where forest meets the coast
St. Vincent does not separate its scenery into neat categories. One minute, you may be moving through cool, leafy cover; the next, the trail opens and the coast appears through the palms. That transition is a photo stop in itself.
Look for layers: large tropical leaves close to the lens, a glimpse of sea in the middle distance, and mountains or sky behind it. This approach gives your shot the hidden-magic feeling that a wide-open beach photo cannot always deliver. It also captures what makes an ATV experience different from a roadside lookout – you have earned the view through the terrain.
If you are traveling with a partner or group, this is a great place for candid shots. Capture someone taking off a helmet, laughing after a splash of mud, or pausing to take in the view. Those photos usually become the favorites because they hold the energy of the day, not just the location.
4. A coastal village road
The island’s coastal beauty is not only about empty shorelines. Village roads add color, movement, and local character to the journey. You may pass homes, small shops, fishing activity, fruit trees, and everyday scenes that make the coast feel lived-in rather than staged.
Photograph these places with respect. Keep cameras pointed toward your own group, the road, and public scenery unless people have clearly welcomed a photo. The best village images are often detail shots: a colorful wall, a fishing boat in the distance, a road curving toward the sea, or a rider rolling through a palm-lined stretch with the coast ahead.
This is where a knowledgeable local guide adds real value. The story behind a place can change how you see it. A view becomes more memorable when you understand the community, history, or way of life connected to it.
5. The rocky shoreline and crashing surf
Not every coastal photo stop needs calm, glassy water. Where the sea meets rock, the island shows more of its power. Waves breaking against a dark shoreline can create dramatic textures, especially when clouds gather offshore or the wind lifts the spray.
Keep a safe distance from wet rocks and rough water. A great image is never worth putting yourself, your group, or your equipment at risk. From a secure viewing point, try burst mode to catch a wave as it rises and breaks. If your phone allows it, lower the exposure slightly so the white water keeps its detail instead of turning into a bright blur.
This is also an ideal spot for a wide group photo. Park the ATVs where directed, place your group with the coast behind you, and leave enough space around the riders to let the landscape breathe. Big scenery needs room in the frame.
6. A riverside pause near the sea
The sound changes first. You hear moving water beneath birdsong and the low rhythm of the distant surf. Riverside sections near the coast bring a different kind of island beauty – cool shade, smooth stones, lush banks, and water that reflects the surrounding green.
These stops are especially welcome during a warm ride, but they are also made for texture-rich photos. Focus on a small detail such as water flowing over rock, tire tracks near the trail, or sunlight catching on leaves. Then take one wide shot that shows the river’s path moving toward the coast.
Avoid forcing the perfect pose here. Riverside images look best when they feel natural. Let your group take a break, sip water, and enjoy the moment while your camera picks up the setting around them.
7. The sunset coast
Sunset is when the coastal ride shifts from high-energy adventure to pure island atmosphere. The light softens, the water picks up warmer tones, and the hills begin to appear as dark silhouettes against the sky. It is the right setting for couples, celebration groups, and anyone who wants a final frame that feels cinematic without trying too hard.
The trick is to arrive ready. Clean your camera lens before the light starts to fade, and take photos early rather than waiting until the sun is nearly gone. The best color often appears in the minutes before sunset and again shortly after it drops below the horizon.
For portraits, place the sun behind your subject for a glowing outline, then tap your phone screen on their face to brighten the exposure. For scenery, turn toward the reflected light on the sea and let the sky fill the upper half of the image. If you are on a guided sunset ride, follow your guide’s timing – the route, stops, and safe return are planned around changing light.
How to Get Better ATV Photos Without Missing the Ride
The goal is not to document every minute. It is to come home with a few images that instantly bring back the sound of the engine, the salt in the air, and the feeling of discovering a side of St. Vincent you could not reach from a tour bus.
Use a wrist strap or zipped pocket while riding, and only take out your phone once the ATV is stopped in a designated area. Dust, sea spray, and vibration are part of the fun, but they are hard on cameras. A small microfiber cloth is worth carrying for quick lens cleanups.
Ask for one or two group photos at key stops, then give yourself permission to put the phone away. Your guide knows the terrain, local conditions, and safe stopping points, while you get to focus on the ride. First-time riders can relax into the experience; experienced riders can enjoy the capable terrain without losing the island context that makes the route special.
The strongest photos are rarely the most polished ones. They are the frame of your friends grinning under helmets, the black sand on your boots, the sea beyond a winding trail, and the moment you realize adventure in St. Vincent comes with a view worth remembering.